Push notifications (v5)
How to manage and receive push notifications with the Apps Panel Android SDK
Push notificatios are working with Firebase Cloud Messaging (FCM).
Your first step consist in setting Firebase to your project as described just below.
Register your application to Firebase
1 - Connect on firebase console : https://console.firebase.google.com
2 - Select your firebase project by it name and environment
Important to knowOne firebase project correspond to only one environment of your application.
So for a single application, you should have one project by working environment. Example :
- appname DEV : com.appname.app.dev
- appname QA : com.appname.app.qa
- appname PROD : com.appname.app
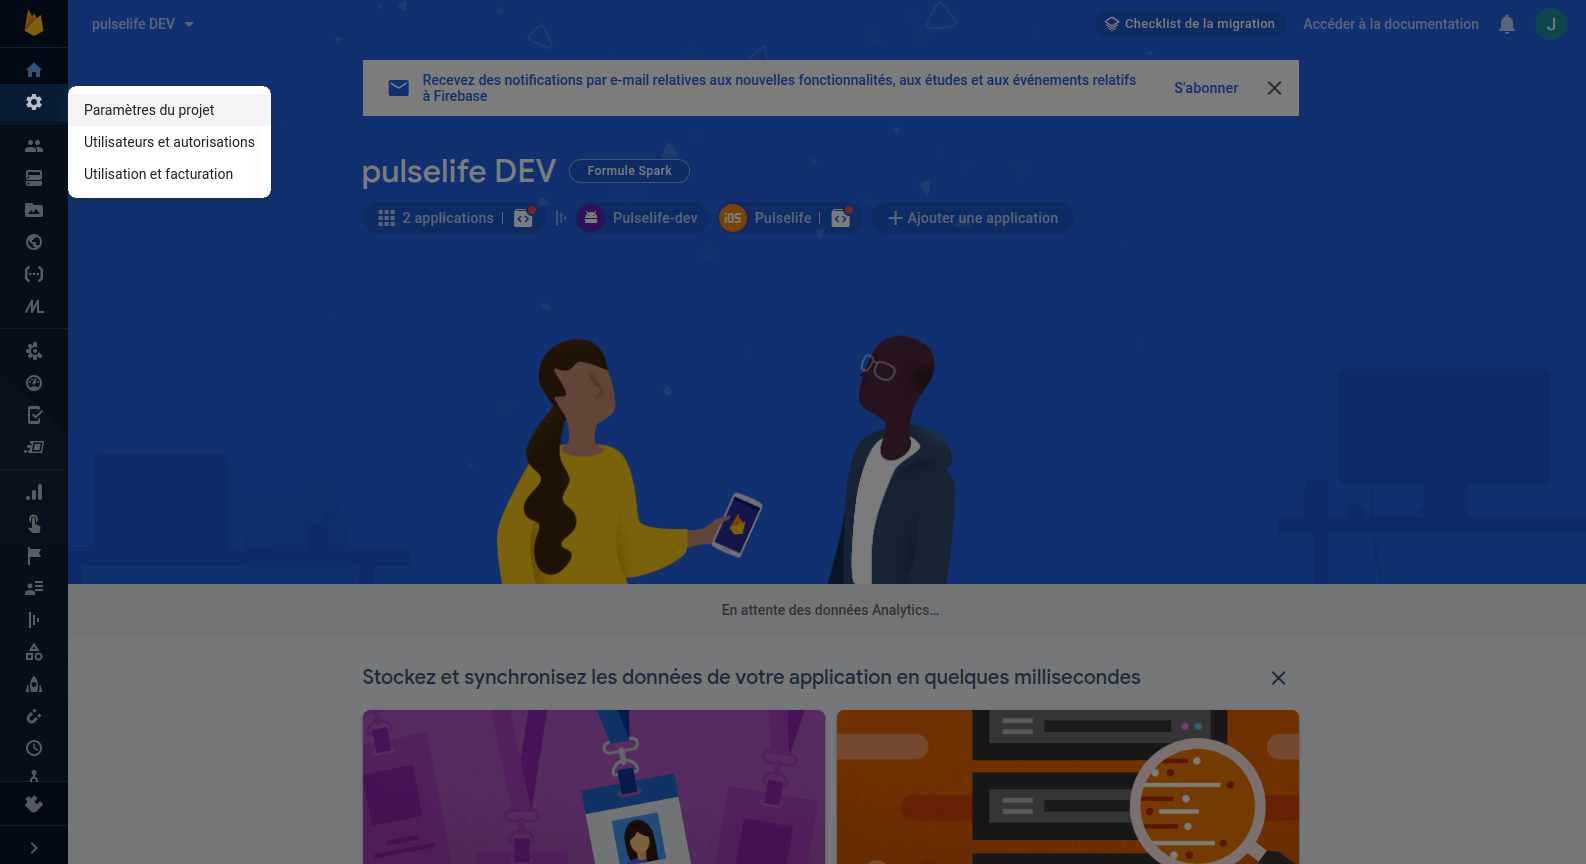
3 - Go to project settings section

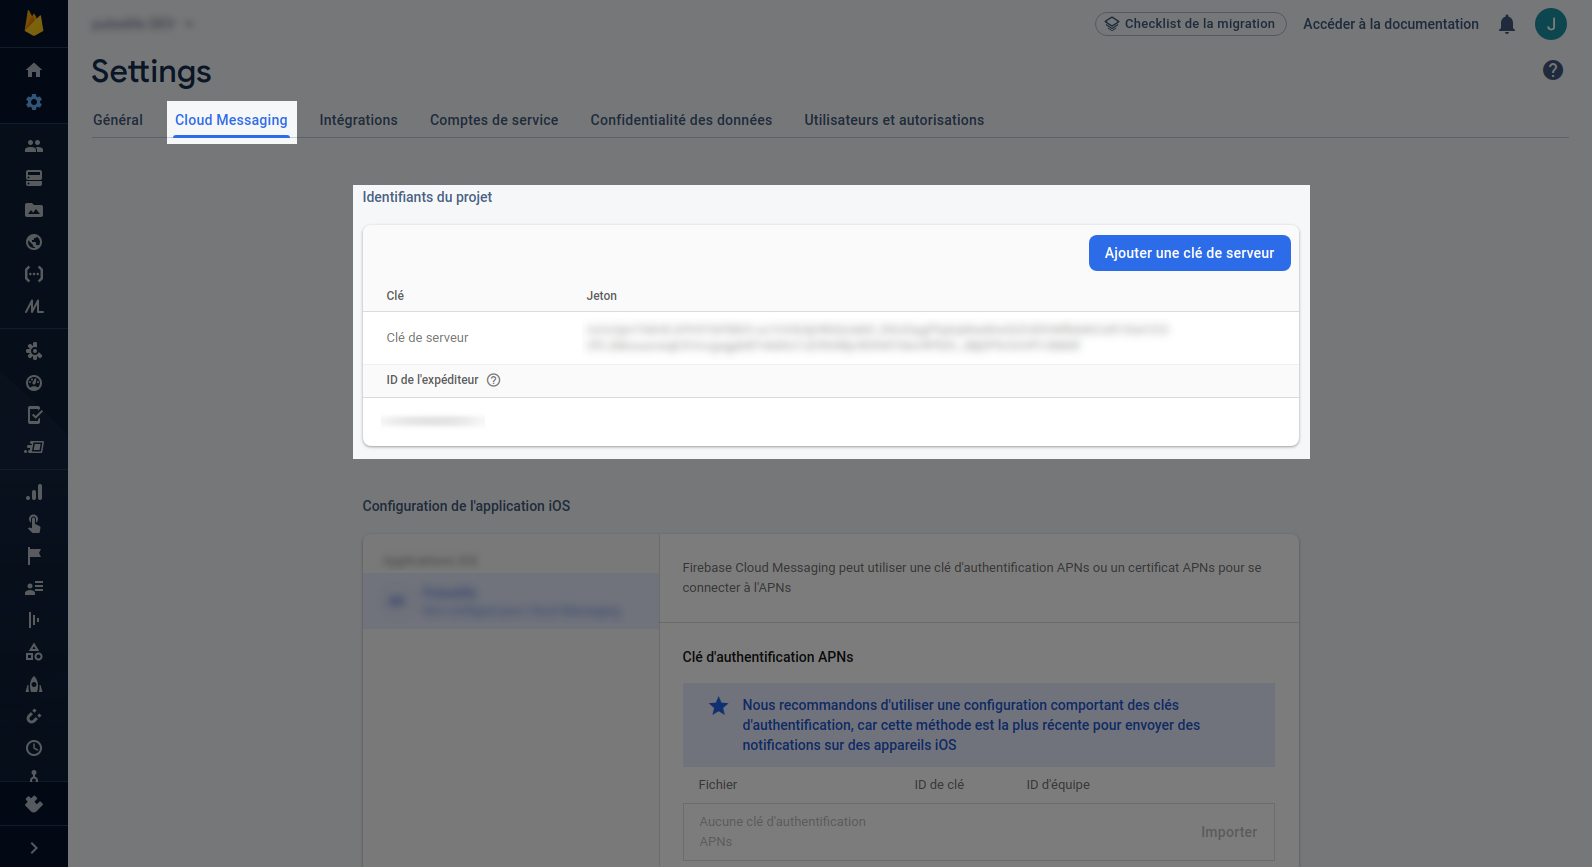
4 - Select Cloud Messaging and create a server key if no one exist yet

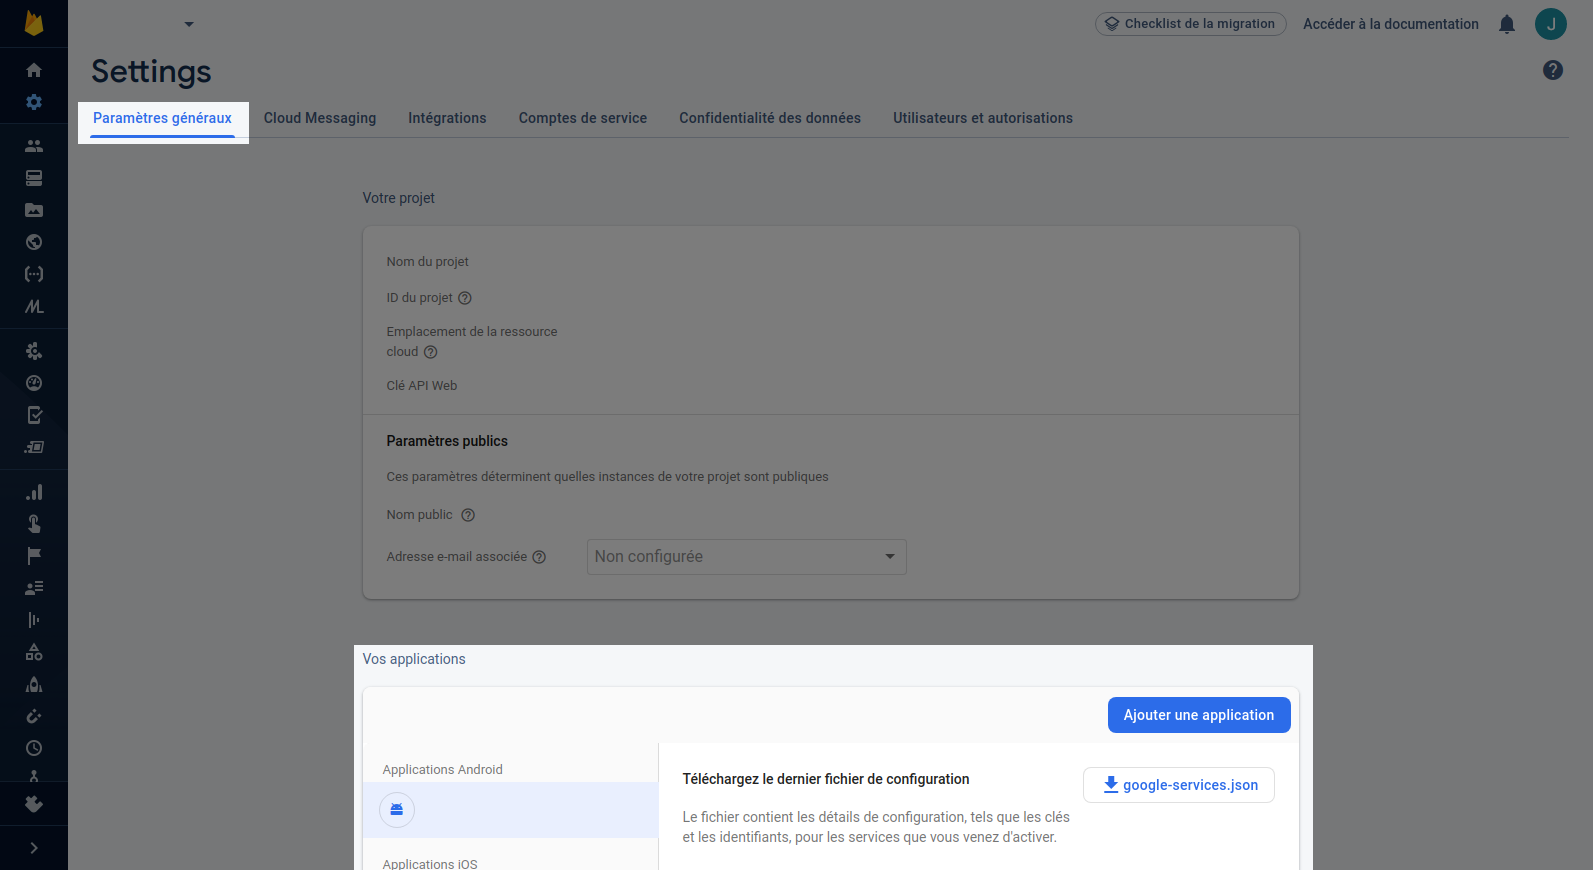
5 - Return to main settings and generate configuration file by adding a new application

ImportantDefine the packagename corresponding to your environment
A good practise is to use application id suffix from Gradle
android {
        defaultConfig {
        		...
            applicationId "com.appname.app"
        }
        buildTypes {
        		debug {
            		...
            		applicationIdSuffix ".dev"
            }
            qa {
            		...
            		applicationIdSuffix ".qa"
            }
            release {
            		...
            		//no suffix for release build variant
            }
        }
}
6 - Download your configuration file and add it to your project by respecting buildvariant path :
- repoappname/app/src/debug/google-services.json for DEV
- repoappname/app/src/qa/google-services.json for QA
- repoappname/app/src/main/google-services.json for RELEASE
Add Firebase SDK
Now it's time to add Firebase SDK dependencies to your Android project...
1 - Make following changes to build.gradle at project level (<project>/build.gradle) :
buildscript {
  repositories {
    // Check that you have the following line (if not, add it):
    google()  // Google's Maven repository
  }
  dependencies {
    ...
    // Add this line
    classpath 'com.google.gms:google-services:4.3.3'
  }
}

allprojects {
  ...
  repositories {
    // Check that you have the following line (if not, add it):
    google()  // Google's Maven repository
    ...
  }
}
2 - Make following changes to build.gradle at application level (<project>/<app-module>/build.gradle) :
apply plugin: 'com.google.gms.google-services'Apps Panel SDK customisation
WarningWith SDK version <= 5.0.3 you must verify your SDK implementation.
Do not forget to add listener as param of the SDK installation.
override fun attachBaseContext(base: Context) {
        super.attachBaseContext(base)
        APSDK.install(context, appsPanelConfiguration, listener)
}
You can override push notification building with following method available from the SDK interface.
@Override
public boolean onPushReceived(@NonNull Context from, @NonNull Intent e) {
    //Create your own notification or do what you want
    return false;
}
override fun onPushReceived(from: Context, e: Intent): Boolean {
//Create your own notification or do what you want
return false
}The boolean return indicate if you have consumed the override :
- By returning true, the process will be finish after your overriding
- By returning false, the notification creation process will be done
InformationWhether this method is implemented or not, the statistical data concerning the pushes will be sent.
Push icon
This icon is a small image displayed on the push notification to indicate which app it match.
Usually it's a declination of the application icon.
To define the push icon, you need to add this line of code in the onCreate() method of your Application class :
class MainApplication : Application() {
    override fun onCreate() {
        //...
        APPushManager.smallIcon = R.drawable.logo
    }
}
public class TestApplication extends Application {
@Override
public void onCreate() {
//...
APPushManager.INSTANCE.setSmallIcon(R.drawable.bell);
}
}
WarningIn SDK < 5.0.3 a small icon is mandatory to display the notification.
In SDK >= 5.0.3 a default small icon representing a bell is used.
Configure push in the back office
Collect your FCM key on Firebase and add it in the Apps Panel back office in push notification configuration.
Test your push
From the back office you can send custom push notifications.
If all is correct, you should see your push on your device !

Emojis
It's possible to display emojis in push notification title, subtitle and obviously in the message like below :

Deeplink on push click
Start by adding SDK service to app manifest like below :
<service android:name="com.appspanel.manager.push.service.APPushActionsService"/>If your push has an extra url starting by http it will launch the web browser else onDeepLinkReceived will be called and you can do what you want with :
Known issueNew Android device need a specific flag to launch the browser intent, this will be fixed on future release.
override fun onDeepLinkReceived(deepLink: String) {
    Log.d("DEV", "onDeepLinkReceived $deepLink")
}
@Override
public void onDeepLinkReceived(@NotNull String deepLink) {
Log.d("DEV", "onDeepLinkReceived "+deepLink);
}If the application is in background, the main activity is launched and the data is given in extras.
Asking for permission from the 5.3.3 and further...
From the back-office in the SDK's configuration, you can request an automatic permission prompt at app launch.
Else you can request it manually from the app by calling the following method :
APPushManager.requestPermissionIfNeeded()Changing the activity behaviour when clicking on a push notification (5.6.0+)
The default behaviour when clicking on a push when the app is in background is to recreate the main activity. As this is not always wanted, there's a parameter to make the app re-use the existing activity if it exists. You can for instance set this in the onCreate of your MainApplication
APPushManager.recreateActivityOnPushClicked = falseThis also requires that the targetted activity has the following in its declaration in the AndroidManifest.xml :
android:launchMode="singleTop"Updated 8 months ago
